
The l.e.d.'s will have to be wired up and then connected to the battery input on the circuit board. Blue lights use a greater current and I thought that the 9V battery would be enough to supply the power to the speaker and l.e.d's. But this was not to be.....
I experimented by joining four green l.e.d.'s up but found, even with out the speaker connect they all did not illuminate. Three would but the fourth remained off. After some consultation I found that the battery was not delivering enough output. Replacing the 9V for four AA batteries would power the lights, and lucky for me they still fitted in my amplifier. A slight adjustment was needed on the back plate and a little more depth was required. Back to the laser cutter.
The next problem was I designed the l.e.d.'s in series but this would also be a problem as the lights would be really dim and not bright. A parallel configuration is needed so all the negatives and all the positives are joined. I soldered the l.e.d.'s together and stuck them behind the front cover then tested the amplifier with all lights on and with music - It all worked.
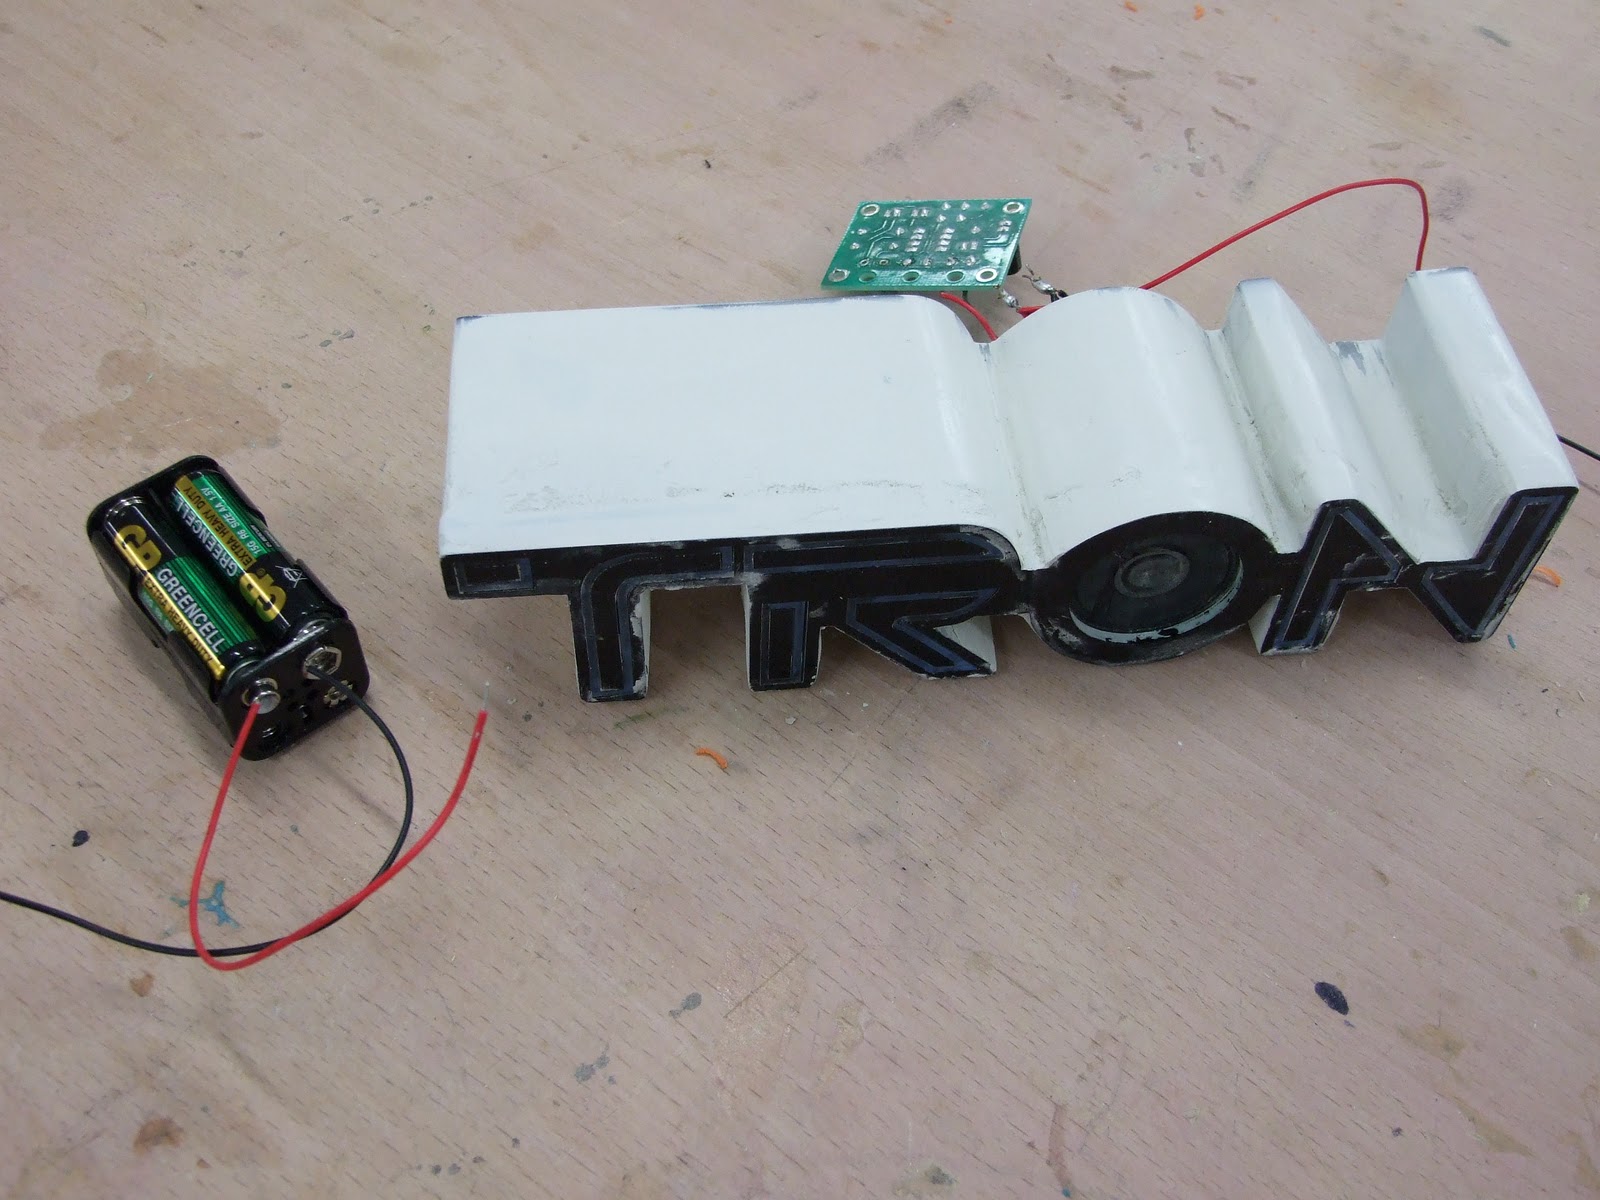
This picture shows the four AA battery pack and the circuit board. The speaker is in place and the front cover is attached to the main body.
It is here I ran into another problem. I could not achieve a smooth finish between the letters, it was hard to file and sand down. I believe that if I had made the main body out off ply on the laser cutter I could of over come this problem.

You can see here where the
circuit board fits and see the speaker
in place.
circuit board fits and see the speaker
in place.